
Feeding my Buffalo check addiction has been SO gratifying with these super fast & easy cushion covers. It literally took me 10(ish) min from start to finish, and once you make one, your next one will be faster. Let's get started!

First things first, you are going to need fabric. I just eyeballed it and grabbed a yard of this gorgeous teal flannel buffalo check. If you want to be sure, measure your cushon sizes first. I knew from making the cushion cover for my Front Entry Reno that I was definitely good with one yard for 2 of these covers.
You will also need:
*scissors
*pins
*measuring tape
*iron & ironing board
*your cushions or inserts to cover (I have these GORJ cushions from Urban Barn that I am covering just for the holidays)
*matching thread

HOW TO MAKE COVERS:
Hold your cushions taut from corner to corner and measure across the top (width). Do the same down the sides (length). This will give you your base height & width measurements.
My cushions are 22" wide x 12" high.
Height - Add 1" to the height. (Mine: 12" + 1" = 13")
Width - Multiply the width by 2 then add 6 inches (Mine: 22 x 2 = 44, then + 6 = 50")
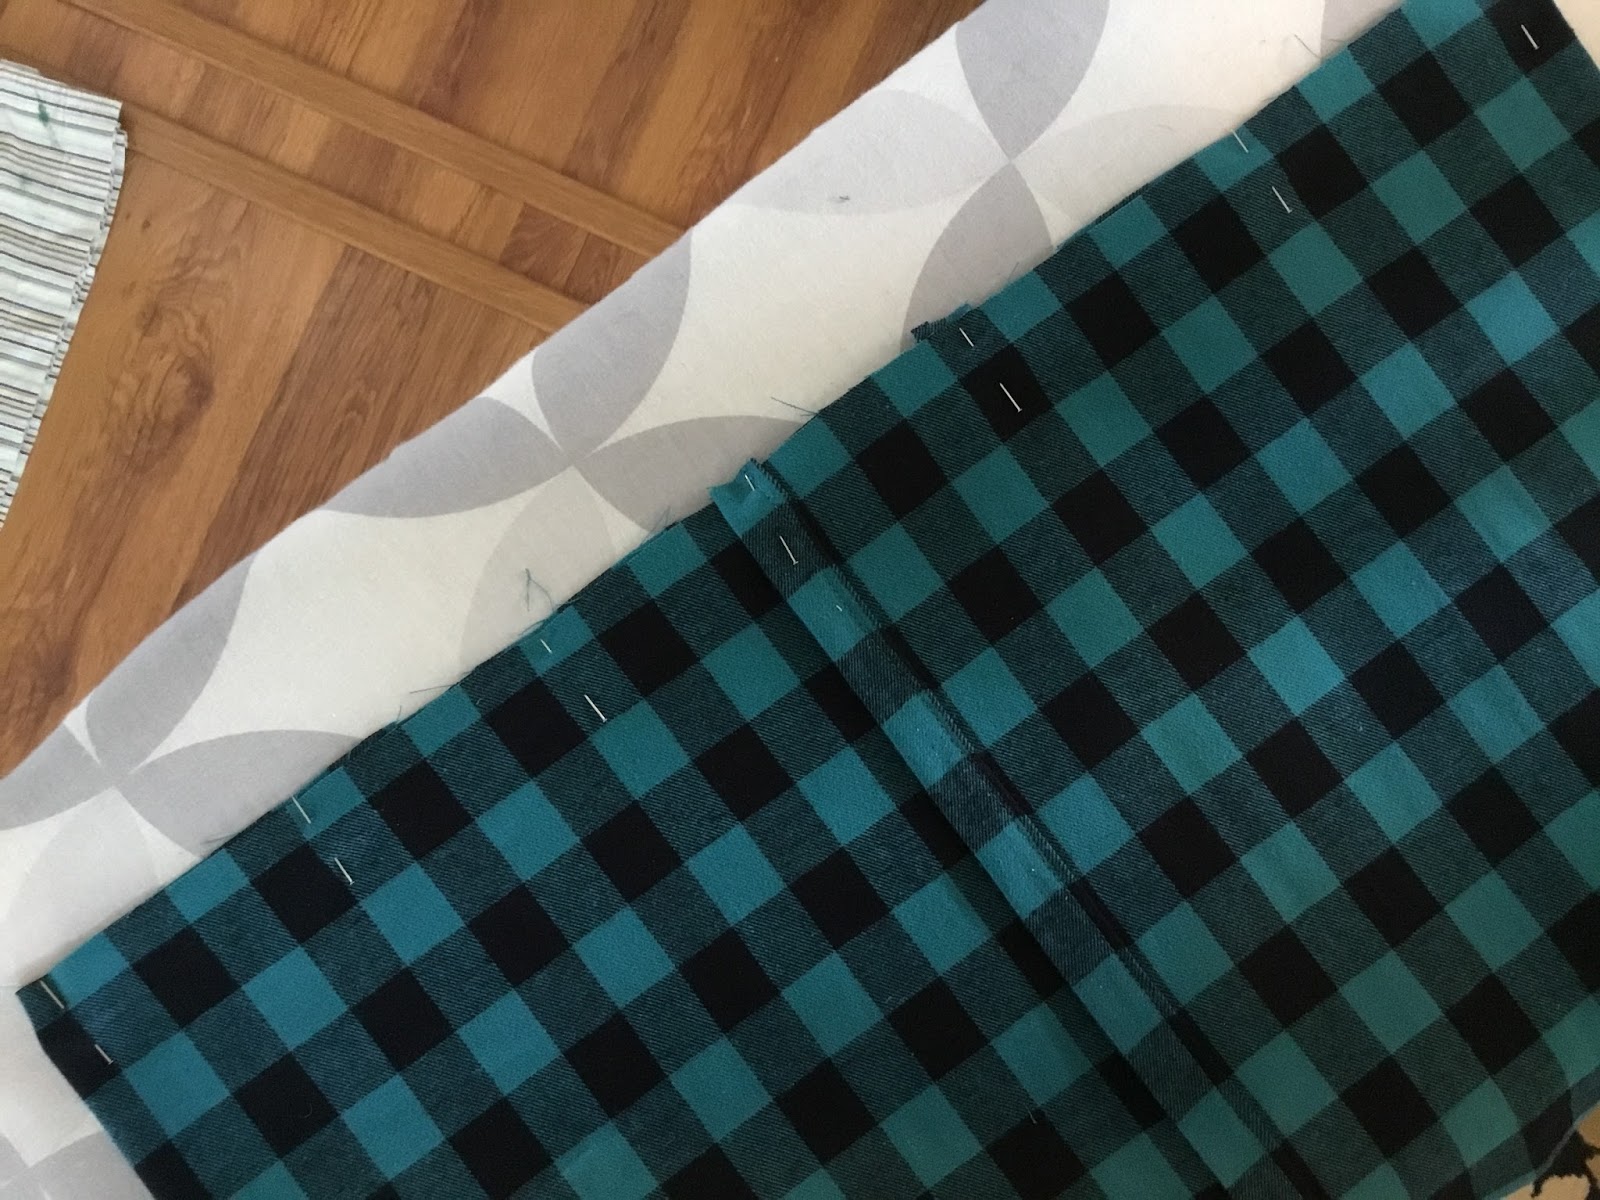
This is the size of the piece of fabric you will be cutting. Mine was 50" x 13".
NOTE: My cut fabric in pic below is folded in 1/2.


Stitch across uppper and lower raw edges with a 1/2" seam. Clip your corners, turn cushion cover right side out, and press.

Here is the back flap once pillow is inserted.

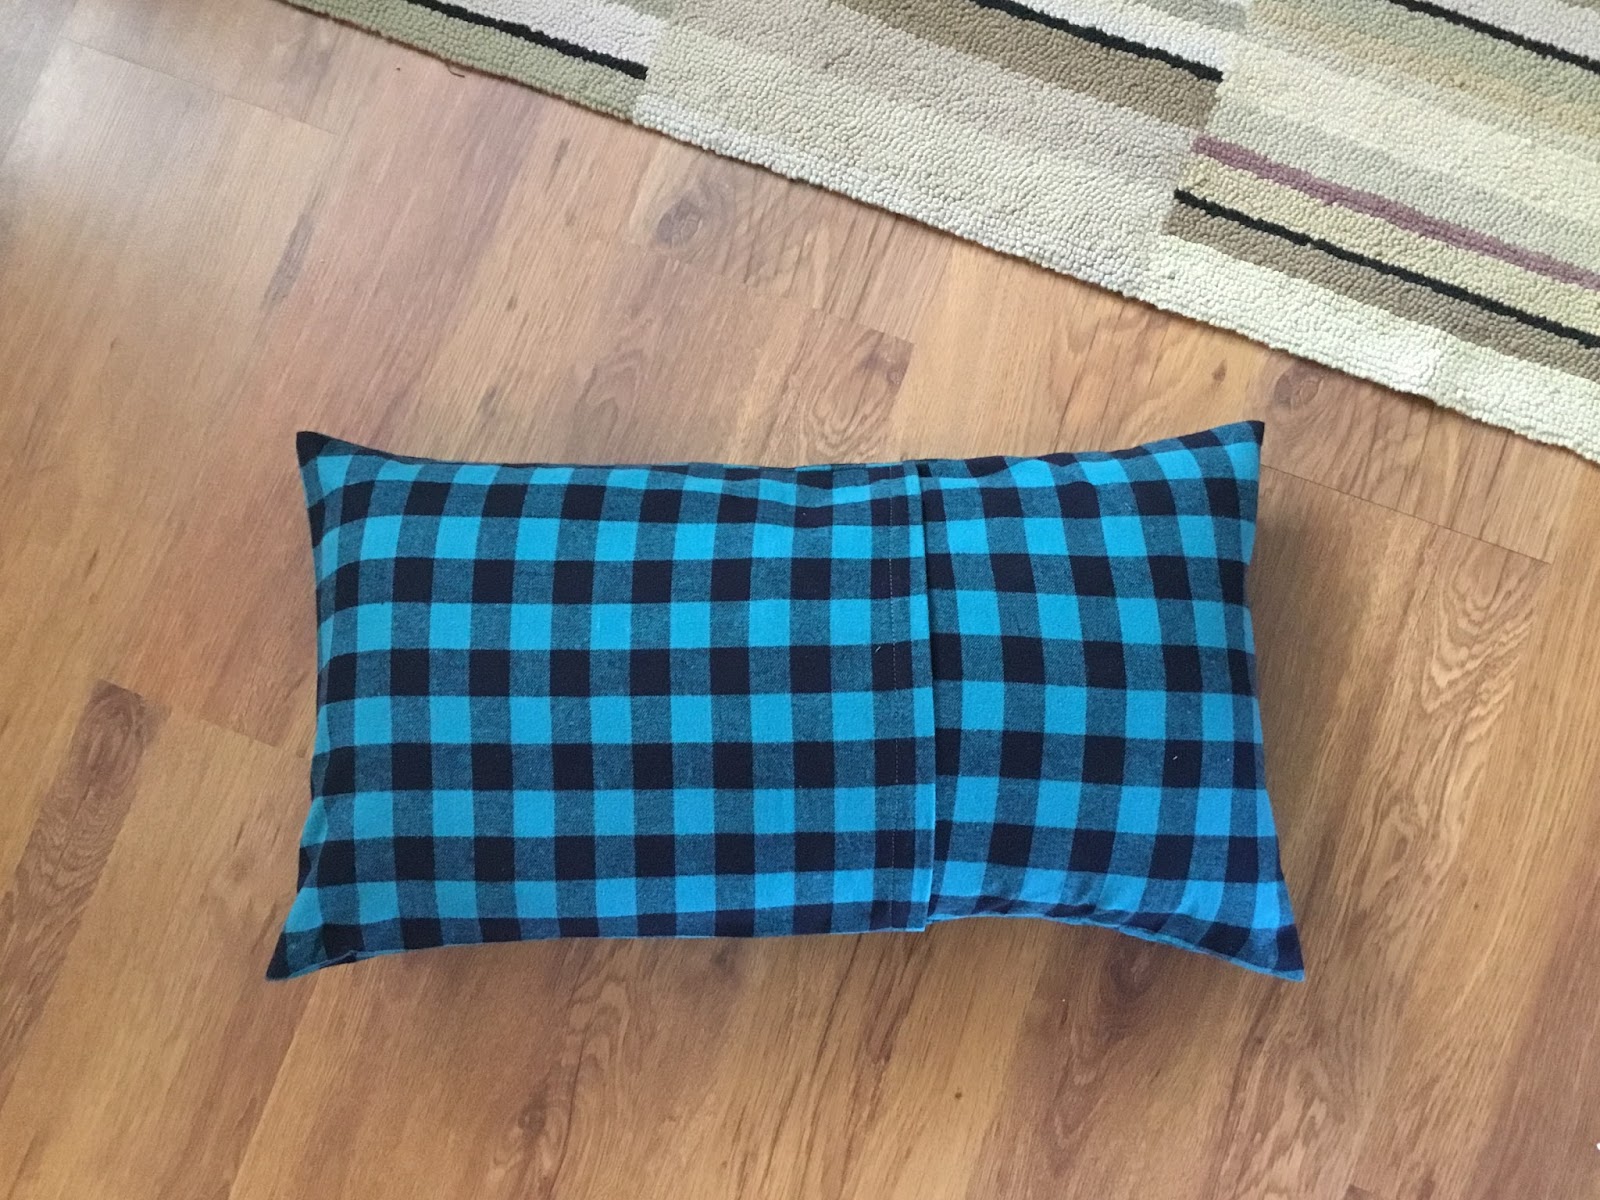

I freaking LOVE how it looks with my vintage ochre velvet cushion covers.
Have you made these? If so, did you find them easy?

Stay weird ;-)
Wendy
PS: I got my inspo from My Childhood Treasures
A great project for beginners! I’m totally crushing on your ochre cushions too!
ReplyDeleteThanks! A buck 50 at Salvation Army! A great score. 😀
DeleteGreat tutorial and great pics to go along with it!
ReplyDeleteThanks so much. They are fun to make and a quick update!
Delete