Friday 8 February 2019

Round Velvet Pillow DIY

Are you as obsessed as I am with all the velvet pillows?  If so, read on.


SUPPLIES:
-1/2 yard velvet fabric
-thread to match the velvet
-fabric scissors
-ruler
-straight pins
-pillow form 


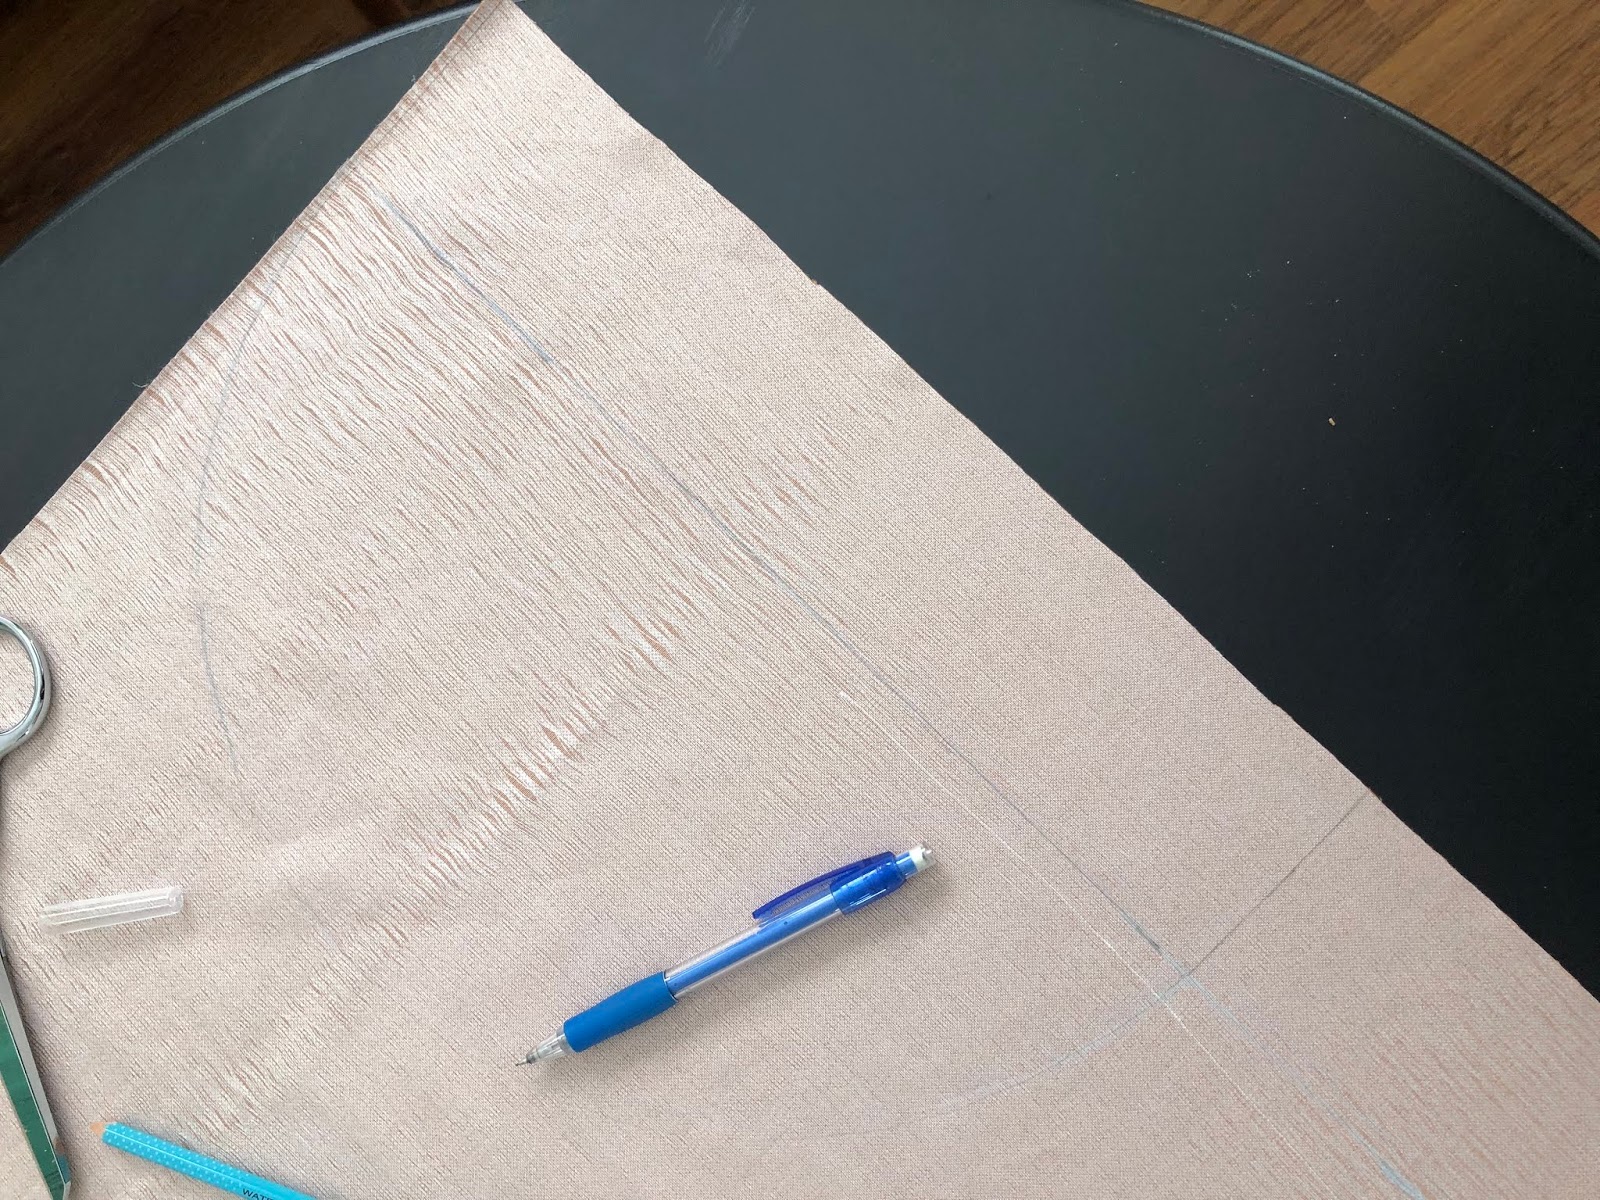
While fabric hunting I found this perfect peach velvet fabric and because this is the color of everything good & right in my house right now, I bought some.  I knew exactly what I was going to make!  I thrifted a cushion form several months ago, so all I did was measure across the pillow, right direct center from one side to the other.  Now I took that number and added 1/2" to it so my total was 14 1/2 inches.  That would give me a 1/4" seam allowance all around.  I literally just freehanded it as I drew an X as my center point then just marked out 7 1/4 inches from that X til I had the complete circle marked.  


 From here I just took my pencil and connected the dots and cut out the circle shape.  LOOK at the color!!  **SIGH** This is the front of my pillow.  Now to cut the two back pieces. 


To do this basically I folded my circle in half.  I took the straight edge of my leftover fabric & measured up 3 inches and marked that.  I laid my folded circle, straight edge on the line and just traced the top of the circle on the fabric. 


I cut this piece out, then traced it again on the fabric to give me two back pieces. I cut the second one out. 


 Here is what you should have cut at this point.

 Next I needed something as a batting for the quilted top.  I did not have quilt batt, so I dug in my fabric stash and found some polar fleece.  This was perfect!  I cut out a circle by just laying my velvet piece on top and cutting around it. 


Next, I needed a backing for the fleece.  This also serves as the place for you to trace your lines on so you can sew the starbrust pattern on.  I just used some quilting fabric I had and it doesn't need to match because it's on the inside of the pillow.


Use a ruler to draw your lines on.  I did the first two, in a direct straight cross, then I did 3 between each quarter.  You will have 16 pie segments in total. 


Pin the 3 layers together, making sure your velvet is right side facing out.  Pin them together and just start stitching your lines.  Pay attention to the tension on your fabric.  Keep it a bit taut as that will help prevent any fold overs on the bottom side in your stitching. 


 YESS!!!  It looks great!!


Press the straight edges of your two back pieces over 1/4" then stitch into place. 


Take your two back pieces, any lay the on top of your quilted pillow front.  (OOPS...just realized I forgot to photograph this step..DANG IT!!!!) These will overlap.  You might find you will need to trim a little off the edges of the two flaps to make it fit into the circle of the top.  Go ahead and do that.  Now pin them and stitch the two back pieces to the front, right sides facing together. You are creating an envelope of sorts.  That's it!!  Turn inside out and insert your pillow form. 


"Isn't she loveeelllyyyy?  Isn't she wonderfffulll"


Fluff, rearrange, swoon.  Lather, rinse repeat.  :-))


SHARE:

Sunday 3 February 2019

DIY ANTHROPOLOGIE INSPIRED STARBURST TABLE


TBH, I didn't even know I needed this in my life til randomly, while thrifting at Value Village, I found THIS:
THIS LIL GUY WAS $8.99! 

Not gonna lie...it really is nothing special but I saw it and knew I could McGyver it into something cool.  What that was, I didn't quite know. Haha! 

So whilst perusing Pinterest for ideas, I came across this table from Anthropologie.  ***CUE ANGELS SINGING!!!  THIS was my inspiration.


My little table is NOT wood on the top and bottom, but the pedestal portion was.  I was thinking about a faux wood finish then I rememebered a product from Valspar I saw one of my Instagram buddies using and I knew I was going to grab some to try out for myself.  This is what I used but we'll get more into that in a bit.

It was $18.99 at Lowe's (that's CAD so if you live in the US, you will get it cheaper).

Before I started in on anything I gave the table a good scrub because any kind of residue or dirt will affect how a coating goes on and adheres.  Then I gave it a light sand, wiped it down again and primed it with Kilz.  Normally I wouldn't prime but because the table is not wood, I wanted to do that extra step for a good tooth for the paint.


I then painted the pedestal and the base with Rustoleum Chalked in Linen White.  The top I painted with Rustoleum Metallics Gold.  I did 2 coats of both.


Once the paint was dried (I let mine cure overnight) I taped the gold part off with tiny automotive tape I grabbed from my son's tool pile (I totally eyeballed it for the most part) plus some painter's tape I had for the center part.  I measured in 1.5 inches from the edge and just pencil marked it. Then I started in by first taping the center circle, which I drew on by tracing a glass for the circle shape, then I taped on the entire start burst. Once again, I eyeballed placement.  Nothing crazy here!  LOL


Once I had the starburst all taped, I took the Rustoleum Linen White and sprayed the entire table top.  I gave it 2 coats, letting dry between coats. 

 Once it was dry, I peeled off the tape and VOILA!!  The beautiful gold shone through!! 

All the tape is OFF!!

I DIE!!!

Next I grabbed the Vaspar Antiquing wax and an old paint brush that had kind of scruffy edges, because I thought that would make better wood grain lines on the table.  I did one coat only and this stuff is thick but spreads on well, and you do have quite a bit of play time to go over it to make it look just how you want.  Then here is the thing...it takes 48 hours to cure so I left it in the garage for 2 days.  This was SO hard because I wanted it done!  :-))


When everything was dry, I sealed it all with a Spray Varathane, let it dry well, and then the next day screwed the table back together.  


I LOVE love how it turned out.  Considering the original is $398 and mine was $8.99, I would say I will take a little elbow grease, gold paint and antiquing wax any day!! 

Ethel (my MCM chair) needed a little table buddy and it was perfect beside her.  There is really nothing I enjoy more than taking something and bringing it a whole new life for next to nothing. 

I hope this inspires you to see the creative vision.  Sometimes the best things are hiding right in front of our face! 

Cheers,
Wendy


SHARE:
© WENDY KENNEDY. All rights reserved.
Blogger templates by pipdig