Friday, 4 January 2019

Fluorescent Light Fixture Makeover


I am so excited to share this with you because I made a promise to myself that if I need to know how to do this, then others might appreciate my insight on how we tackled it as well!

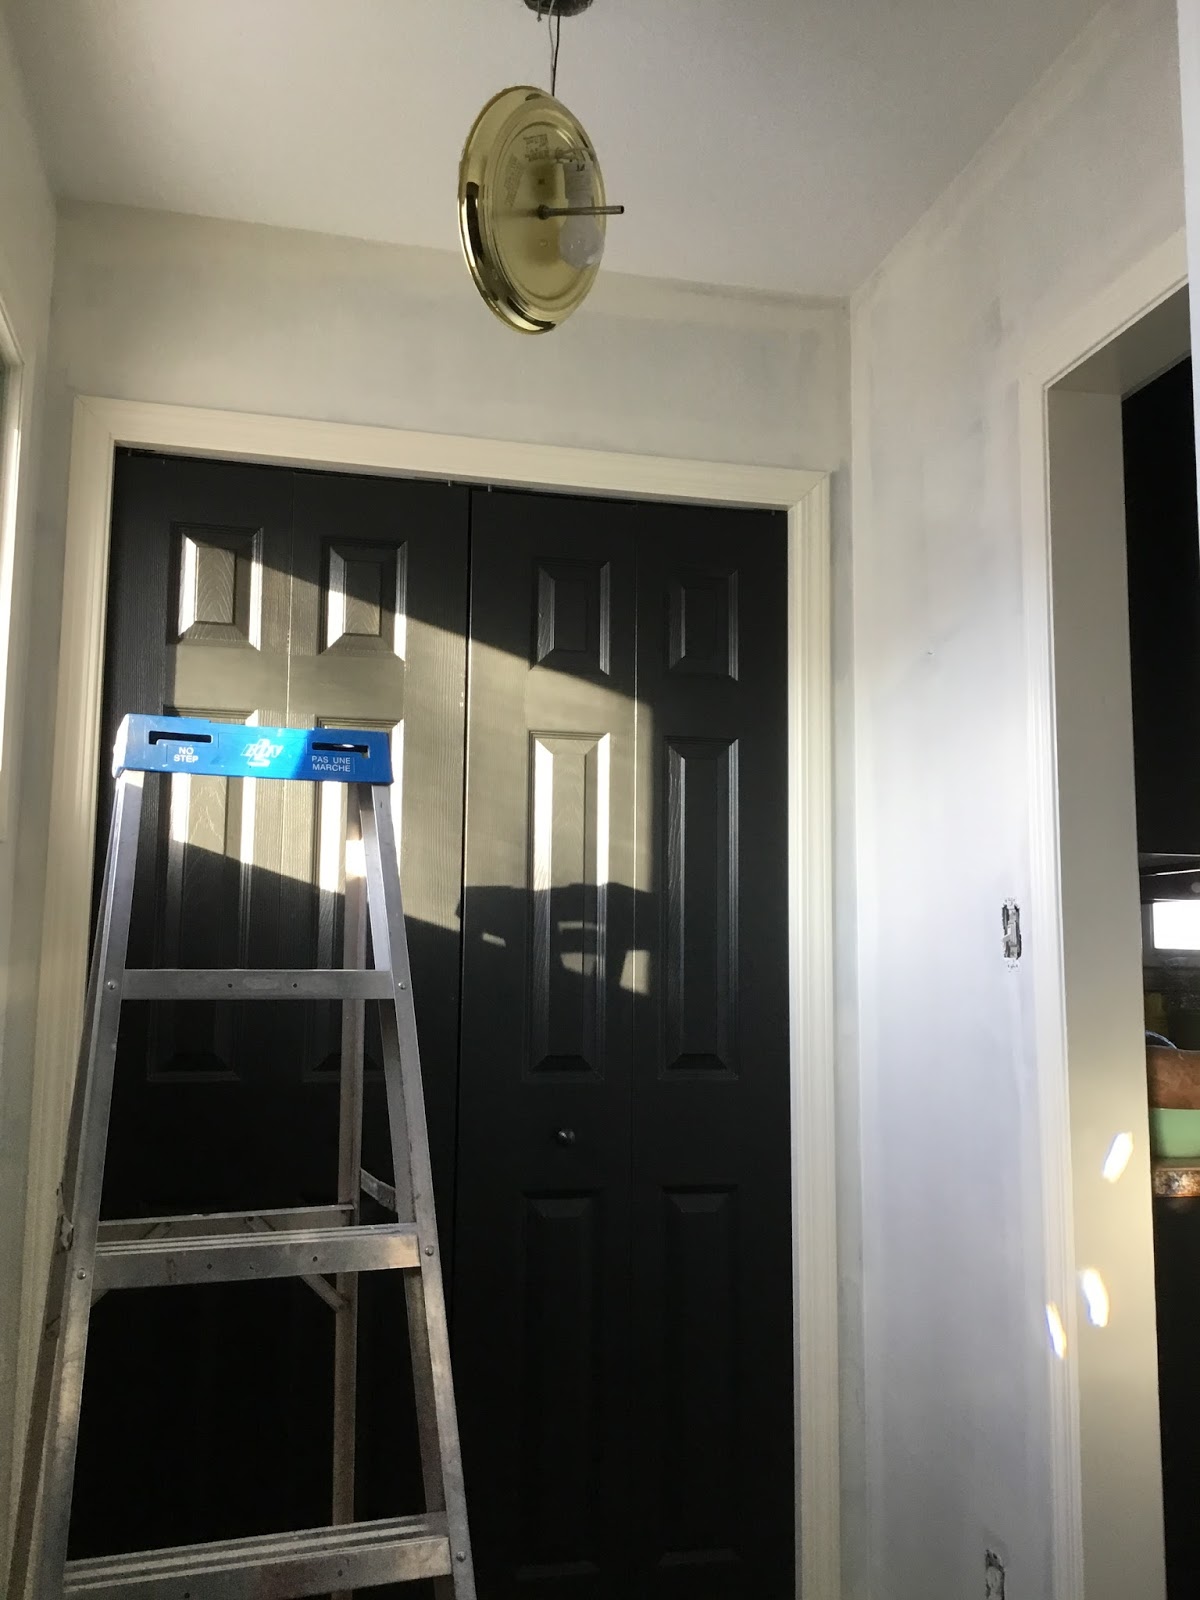
We moved into our 1969 bungalow 11 years ago and for 11 years I looked at a truly retina-burning HUGGEEE fluorescent light fixture in our basement.  We didn't switch it out because it was actually inset into the ceiling, so that meant repairing a massive hole in the ceiling or finding a way around it and McGyvering it.  I opted to unleash my inner McGyver and this is the end result.


I will share the steps with you as my hubby and I join forces (I definitely needed extra hands to install this) to make a massive change in my Woman Cave Lounge.

Here is what the lovely gem looked like BEFORE...you may needs sunglasses.  Ohhh, my!


This was while I was getting ready to start my WCL reno.  And the moment I decided the nasty fixture needs to die.

 We ripped the old fixture out and started making plans for the new one. We measured the opening in the ceiling and built out a box to fit right back into the hole with 1/4" plywood. The frame is made of 1 x 2 pine. The frame fits the size of the hole and the plywood is attached to the top of the frame.


I wanted to do something that would easily give me a longer fixture length look but I didn't like anything in the stores.  I scoured Amazon and found these cute brass hanging sockets.  You can find them HERE and they are SUPER affordable which was important because, well, budgeting!!! :-)


I measured out the spots on the new box for light placement.  I decided on 3 hanging pendants because it filled the spot well. We drilled the holes for the wiring to go through. Also we predrilled holes on the frame to screw the fixture in the ceiling when it was time to install it. I used Rustoleum Chalked Spray paint in the color Charcoal to paint this out.  It was super easy to use and I love the finish it provides.  


Hubs mounted the lights on the new light box.  He did a great job! 

Hubs wired it in for me while I played foreman...just kidding, I totally helped, and then we installed it and screwed that bad boy up!  At this point I am beyond elated because it is looking DOPE!


I found these killer Amber Edison lightbulbs too which was by far the cheapest spot to get them.  I have since ordered more for other parts of my home.  They look SO great!! 

Once it was installed we added small trim around the outside, which I also sprayed with the Rustoleum Chalked Paint.  NOTE:  I usually am wearing pj's and Buffalo check flannel when I do my DIYs.  It's my signature move.  #lumberjackchic 


I think the total came to just over $100 for materials but when I compare the cost of ripping out the re-drywalling the downstairs, well...this was WAY more appealing!  I love how it turned out!! 


Thanks for stopping by! I realize that my next share needs to be WAY more detailed so bear with me as I settle into this process. 

**This blog contains affiliate links from which I earn a small commission. I never recommend anything unless I wholeheartedly stand behind it and believe in it.  It is of no additional cost to you. 
SHARE:

Saturday, 18 November 2017

Front Entry Facelift


Ok, I am not overly proud to say this but my entryway has never really been anything exciting since I moved into this house. It is not my favourite area, simply because it is wonky and doesn't flow, but I am getting out of my own head and I decided I needed to make the most of it (instead of ignoring it).

The floor tiles need to be replaced, but I am holding out for a budget friendly find at ReStore, which I have faith that I will eventually come across. But for now...I am controlling the controllable and taking the dark and uninspiring space and brightening it up and bringing it into this decade.

BEFORE: BLAH tan walls, white doors, and the infamous "boob" light. UGH...I loathe these light fixtures and slowly we are replacing them in this house. And not sure WHY, but I always get so DAMN EXCITED that I forget to take proper BEFORE pics...what the what?? Anyhow....here is a bit of what it looked like after I already had kind of started disassembling and rippping the space apart.

At this point, I just had one side of the closet doors painted black and started working on the other side.  Why the heck did I wait so long to paint them.  They are GORGeous!!  :-)


Now the fun begins...cutting in the white paint...which **GASP** I never thought I would be doing because I LOVE color, but I wanted to try white on white somewhere and this seemed like a great place to give it a go.  I chose Behr Chenille Spread as it was a warm white that went perfectly with our trim color.


The first coat ALWAYS looks like crap.  But, onwards and upwards! It took 3 coats to cover the dark tan and thankfully this was a small space.  


I installed the light fixture and my hubby replaced the outlets and switches.  WHAT a change!!  This sweet little cage light came from Canadian Tire and was $40!  How could you not love that? 

Insert hot hubby helping with switch replacement.  <3 <3 

**CUE ANGELS SINGING** How is it that something so small makes such a HUGE difference? 

DONE...now time to get the decorating for the holidays underway.  

Enter some Buffalo Check and some vintage finds.  The little MCM telephone bench I got at our town flea market for $5 this spring.  It was covered in gold vinyl (the seat had a small hole) but I decided because fur is WAY more fun, so it shall be on this bench.  I intended to do white fur, but they were all out at the fabric store.  I have to say I think the black fur works here! I gave the bench a fresh coat of paint too, with my most FAVOURITE GOLD paint ever!! 


 I also got some buffalo check fabric and made a quick envelope cover for one of my existing pillows.

 I bought this swag last year and it seemed like this was a better spot for it.  *SWOON*.  So.  Pretty! Here are a few pics of the rest of the holiday jewelry for the entry.  I wanted it to be fun, simple and the buffalo check is my signature move...haha...and it ws a perfect fit here and contrast to the creamy white paint.  I love the whole space and I'm happy it is complete! It didn't take that long and why the heck didn't I do this before?


This little sign came from the Dollar store, people.  How awesome is this? ;-)

I grabbed a birch branch from my daughter's yard and hung it it the window with thin jute string from Michaels.  I had these little gold, white and silver stars for years and thought they would be a cute and simple addition.  I used sparkly gold string which also came from Michaels and was a great contrast to the natural birch branch.


Do you have a small entryway or space that you struggle with?  I'd love to see pics or hear from you in comments below how you are jhuzzing (yes I say this is a word) up your space.  

Stay weird ;-), 
Wendy


SHARE:
© WENDY KENNEDY. All rights reserved.
Blogger templates by pipdig