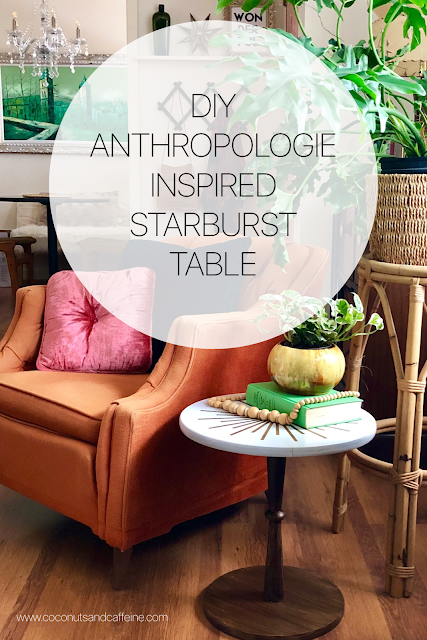
TBH, I didn't even know I needed this in my life til randomly, while thrifting at Value Village, I found THIS:
 |
| THIS LIL GUY WAS $8.99! |
Not gonna lie...it really is nothing special but I saw it and knew I could McGyver it into something cool. What that was, I didn't quite know. Haha!
So whilst perusing Pinterest for ideas, I came across this table from Anthropologie. ***CUE ANGELS SINGING!!! THIS was my inspiration.
My little table is NOT wood on the top and bottom, but the pedestal portion was. I was thinking about a faux wood finish then I rememebered a product from Valspar I saw one of my Instagram buddies using and I knew I was going to grab some to try out for myself. This is what I used but we'll get more into that in a bit.
It was $18.99 at Lowe's (that's CAD so if you live in the US, you will get it cheaper).
Before I started in on anything I gave the table a good scrub because any kind of residue or dirt will affect how a coating goes on and adheres. Then I gave it a light sand, wiped it down again and primed it with Kilz. Normally I wouldn't prime but because the table is not wood, I wanted to do that extra step for a good tooth for the paint.
I then painted the pedestal and the base with Rustoleum Chalked in Linen White. The top I painted with Rustoleum Metallics Gold. I did 2 coats of both.
Once the paint was dried (I let mine cure overnight) I taped the gold part off with tiny automotive tape I grabbed from my son's tool pile (I totally eyeballed it for the most part) plus some painter's tape I had for the center part. I measured in 1.5 inches from the edge and just pencil marked it. Then I started in by first taping the center circle, which I drew on by tracing a glass for the circle shape, then I taped on the entire start burst. Once again, I eyeballed placement. Nothing crazy here! LOL
Once I had the starburst all taped, I took the Rustoleum Linen White and sprayed the entire table top. I gave it 2 coats, letting dry between coats.
Once it was dry, I peeled off the tape and VOILA!! The beautiful gold shone through!!
All the tape is OFF!!
I DIE!!!
Next I grabbed the Vaspar Antiquing wax and an old paint brush that had kind of scruffy edges, because I thought that would make better wood grain lines on the table. I did one coat only and this stuff is thick but spreads on well, and you do have quite a bit of play time to go over it to make it look just how you want. Then here is the thing...it takes 48 hours to cure so I left it in the garage for 2 days. This was SO hard because I wanted it done! :-))
When everything was dry, I sealed it all with a Spray Varathane, let it dry well, and then the next day screwed the table back together.
I LOVE love how it turned out. Considering the original is $398 and mine was $8.99, I would say I will take a little elbow grease, gold paint and antiquing wax any day!!
Ethel (my MCM chair) needed a little table buddy and it was perfect beside her. There is really nothing I enjoy more than taking something and bringing it a whole new life for next to nothing.
I hope this inspires you to see the creative vision. Sometimes the best things are hiding right in front of our face!
Cheers,
Wendy


